


How do I create a beneficiary plan?
You can name individuals, trusts, or organizations as beneficiaries on your River account. Designating a beneficiary plan establishes a transfer on death (TOD) registration for your account. You can create a unique plan for each of your River accounts.

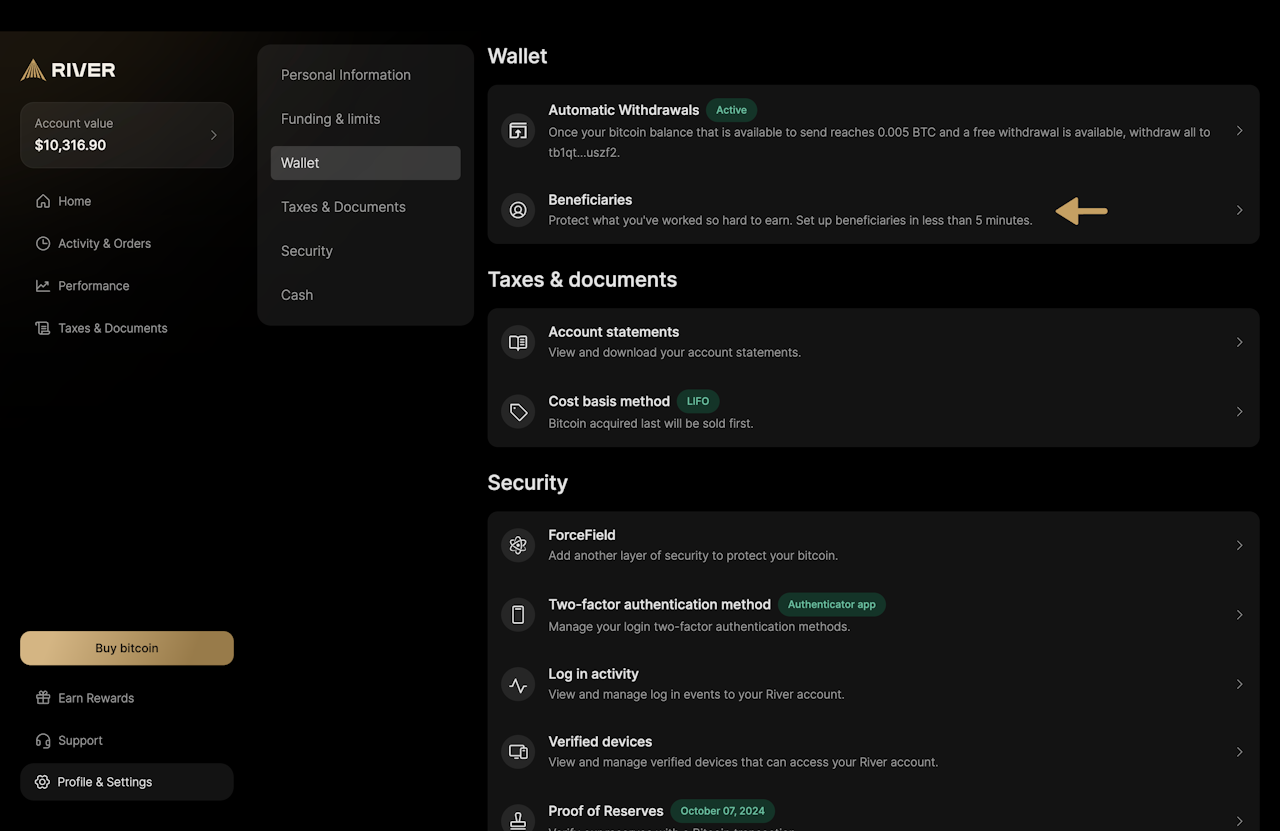
Step 1: Click “Profile & Settings”
To add a beneficiary, click “Profile & Settings” in the bottom-left corner of the river.com homepage.

Step 2: Click “Beneficiaries”
Scroll down and click "Beneficiaries."

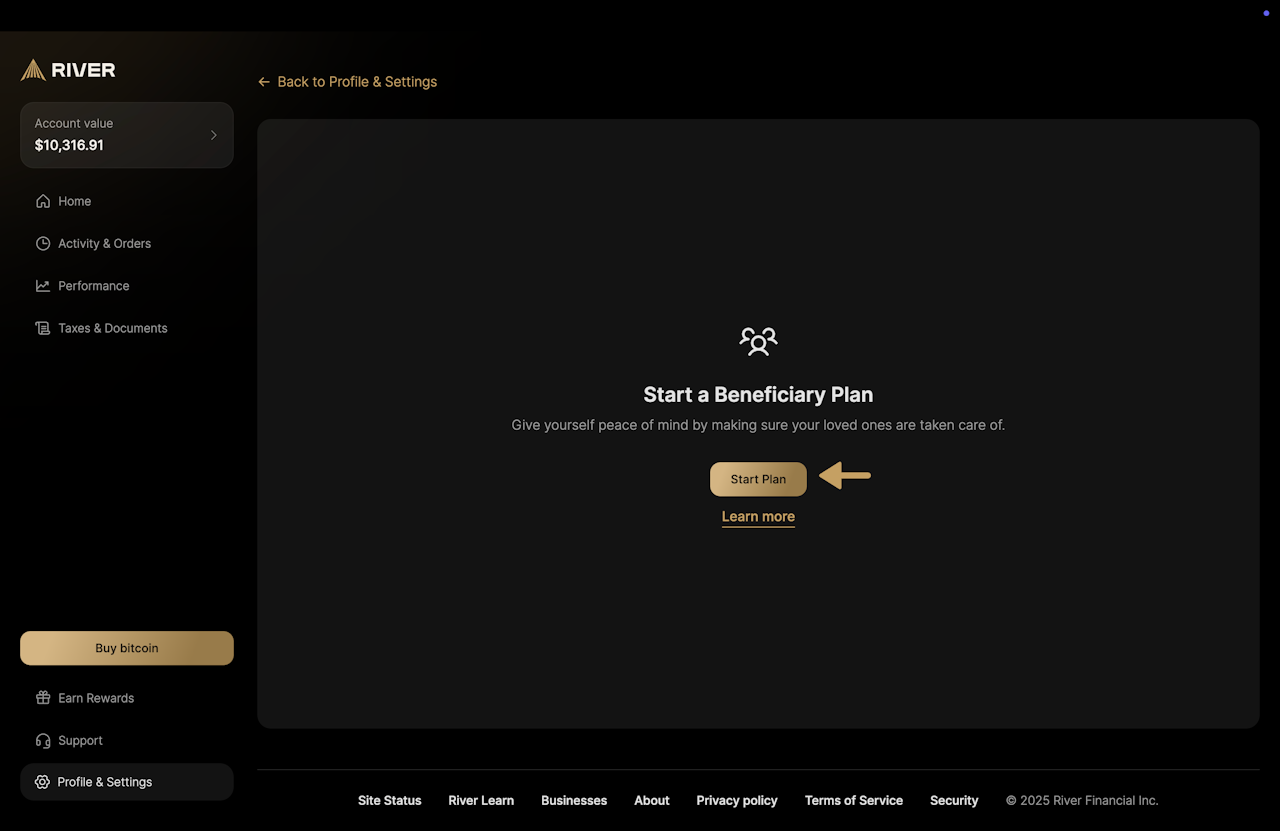
Step 3: Click "Start Plan"
Click "Start Plan" to begin.

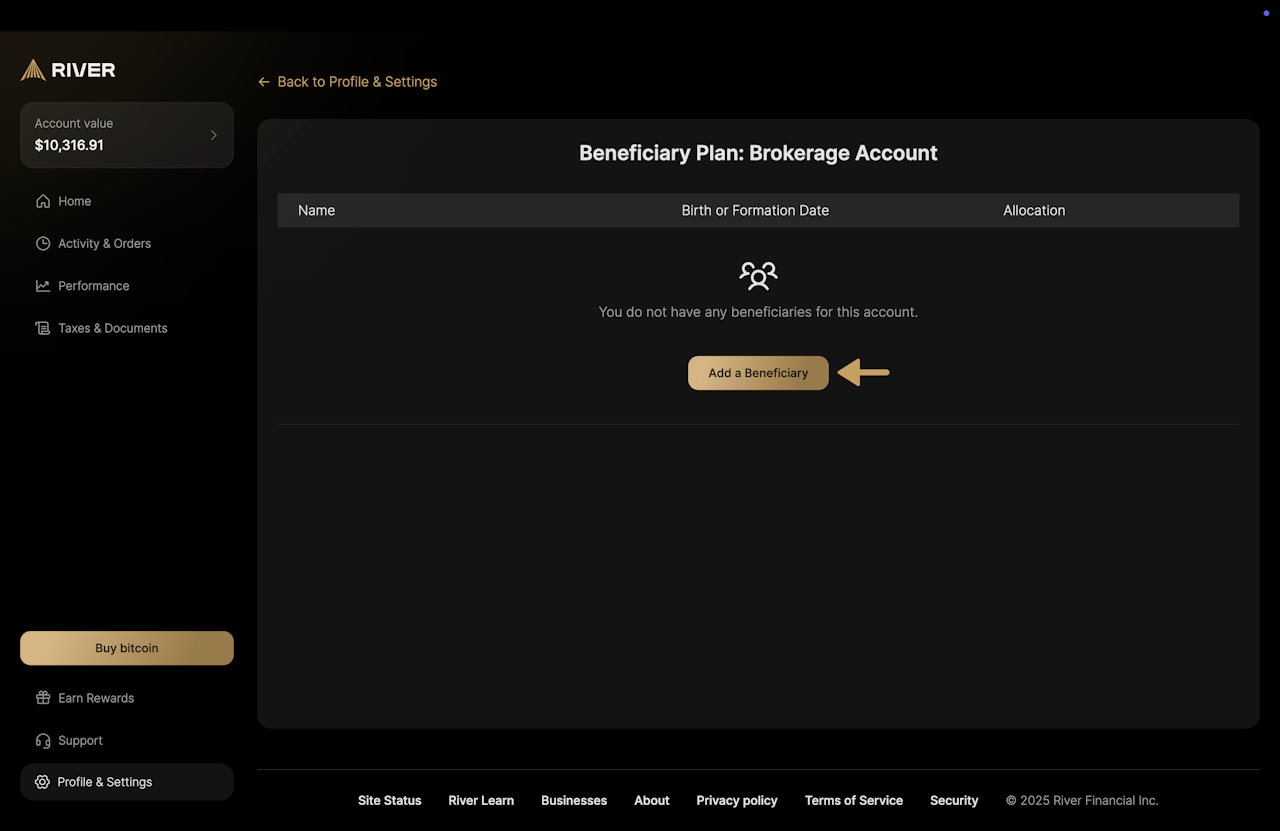
Step 4: Add beneficiary
Click “Add a Beneficiary.”

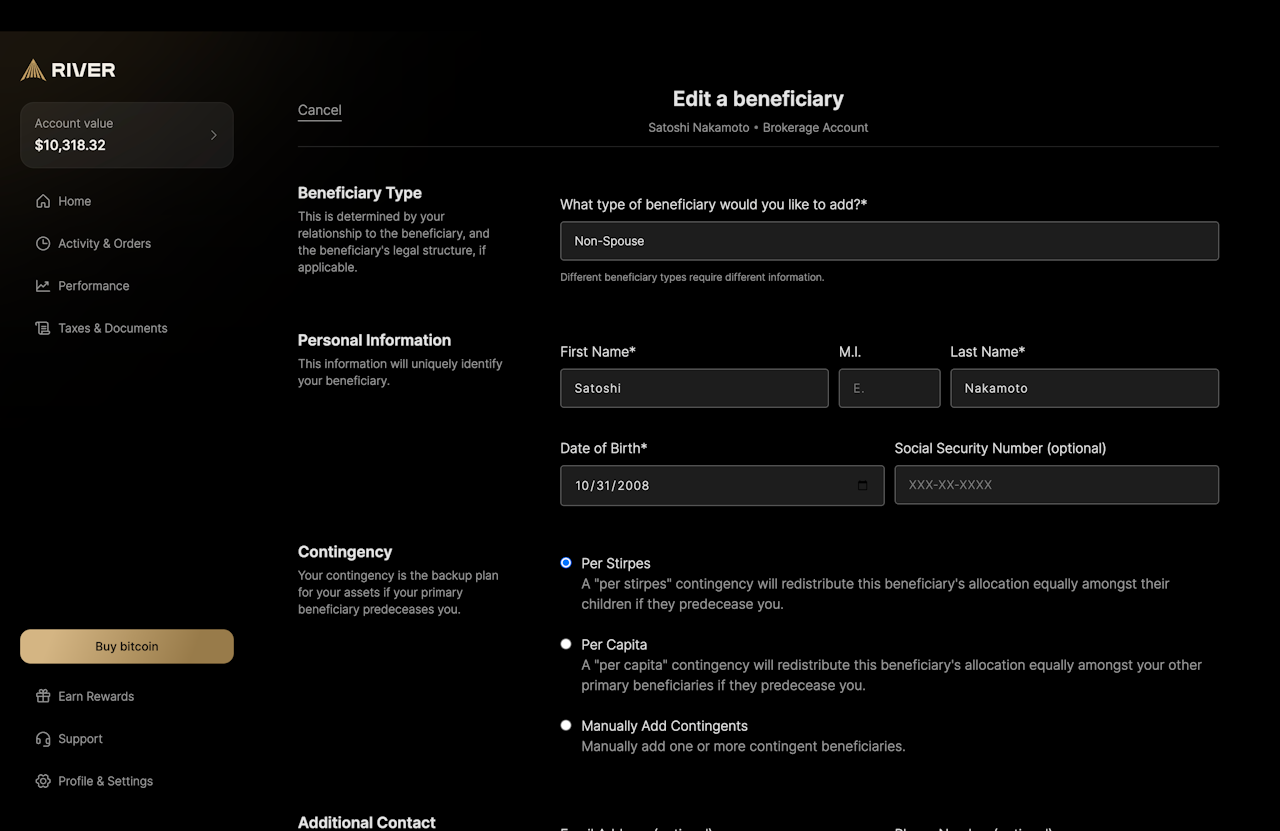
Step 5: Select beneficiary type
Select the type of beneficiary you would like to add. You can choose from the following options:
Spouse
Non-spouse
Trust
Entity

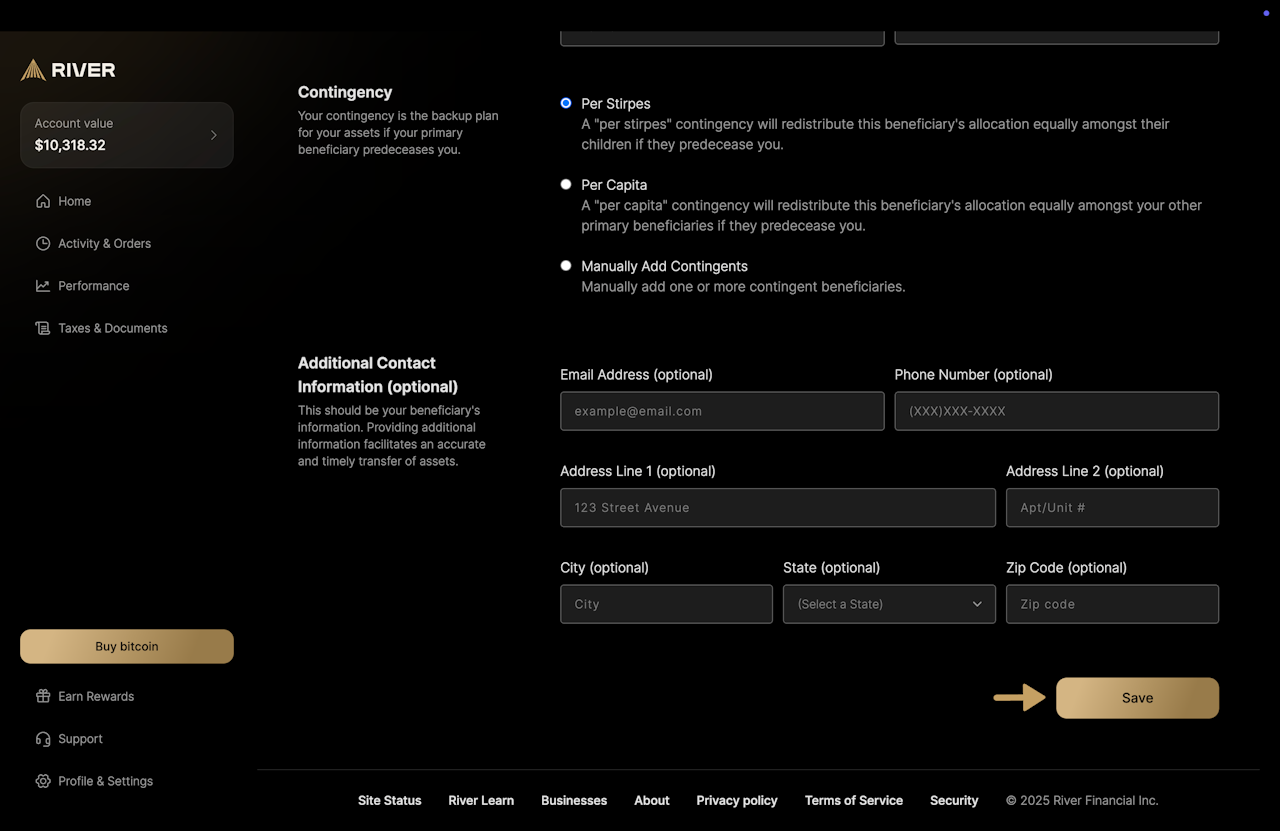
Step 6: Enter details
Enter the beneficiary’s information and click “Save.”

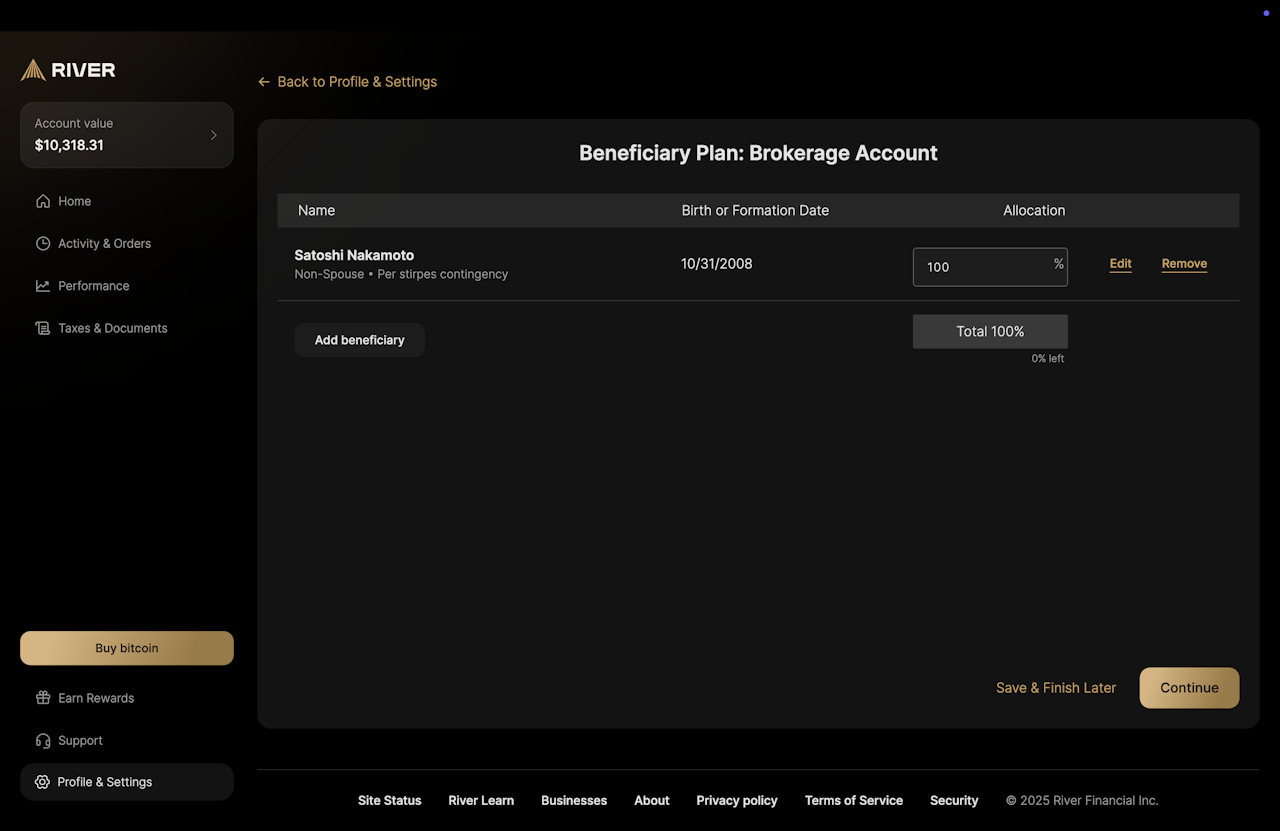
Step 7: Select allocation
Once a beneficiary has been added, you have the choice to add other beneficiaries. Once all beneficiaries have been added, you can designate the appropriate allocations. Click “Continue” once finished. You can also choose "Save & Finish Later."

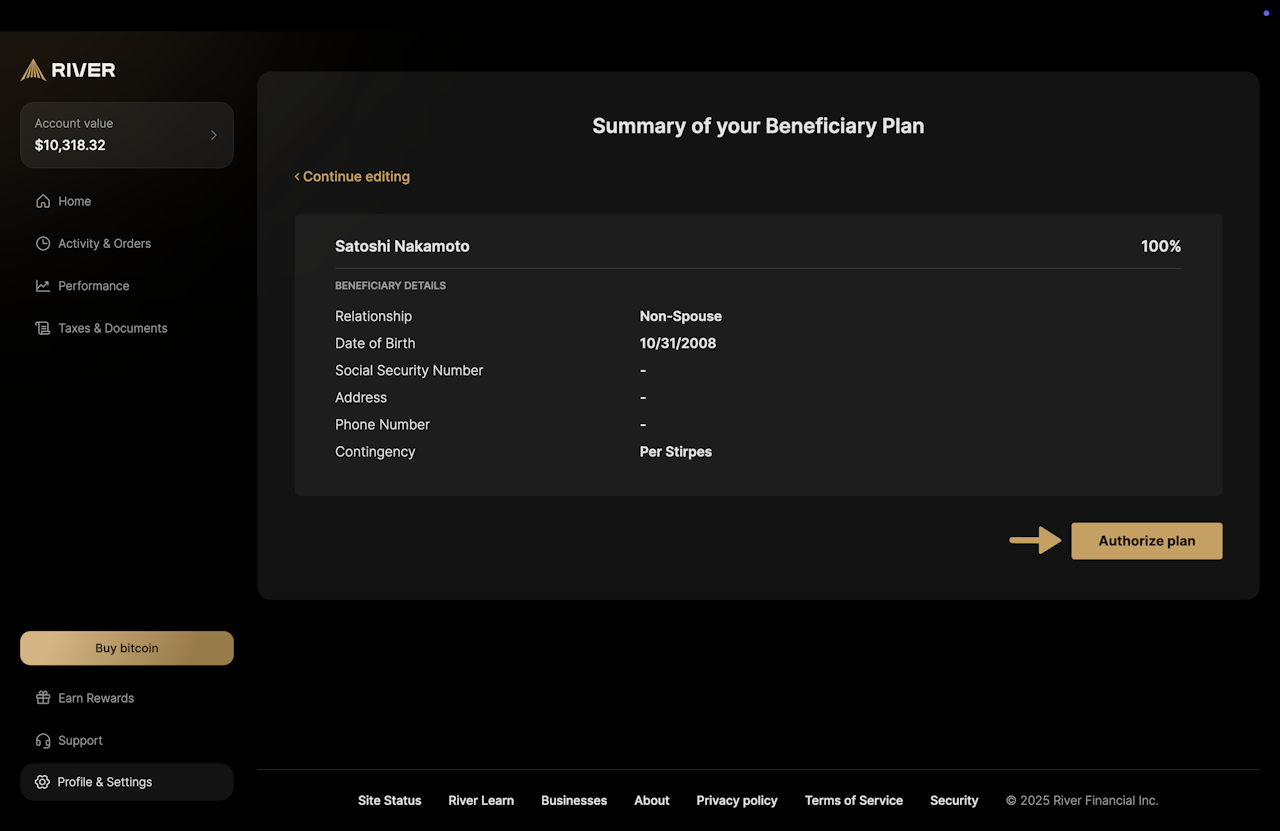
Step 8: Review and authorize plan
Review the details of your beneficiary plan. Then, click “Authorize plan.” This will redirect you to DocuSign, where you’ll need to sign your beneficiary plan.

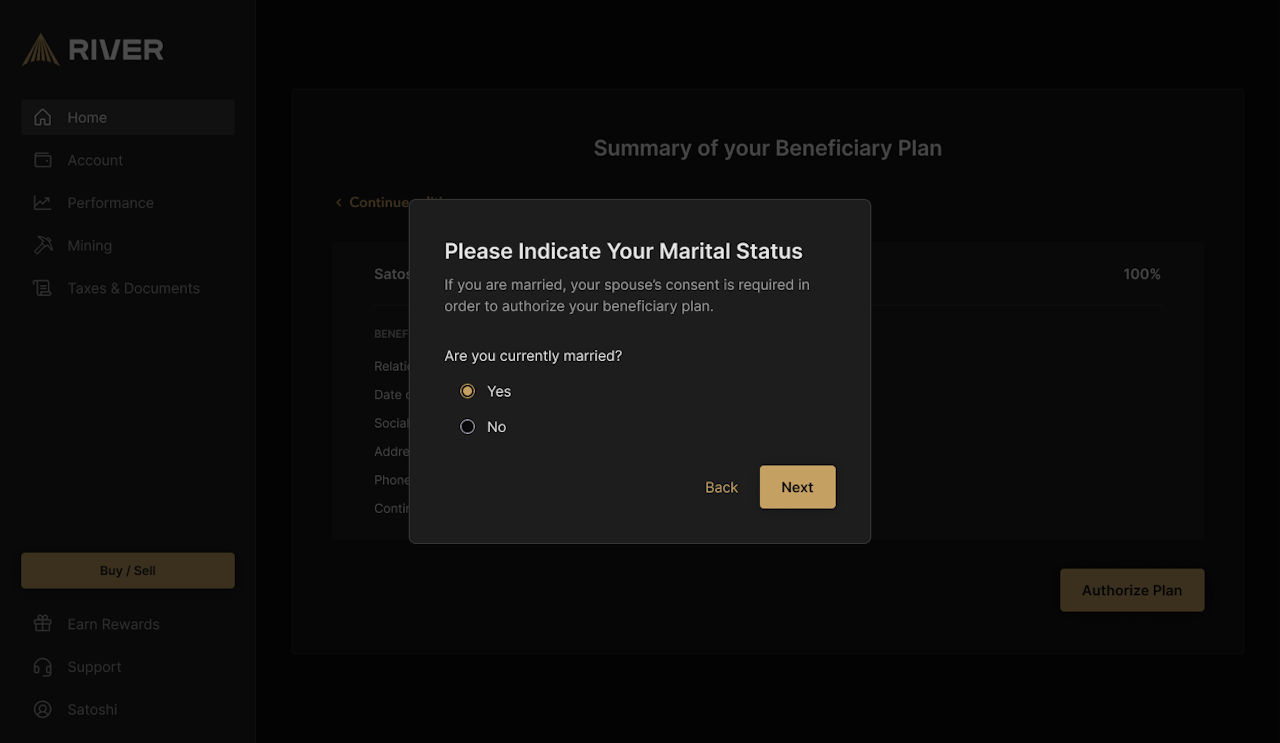
Step 9: Indicate marital status
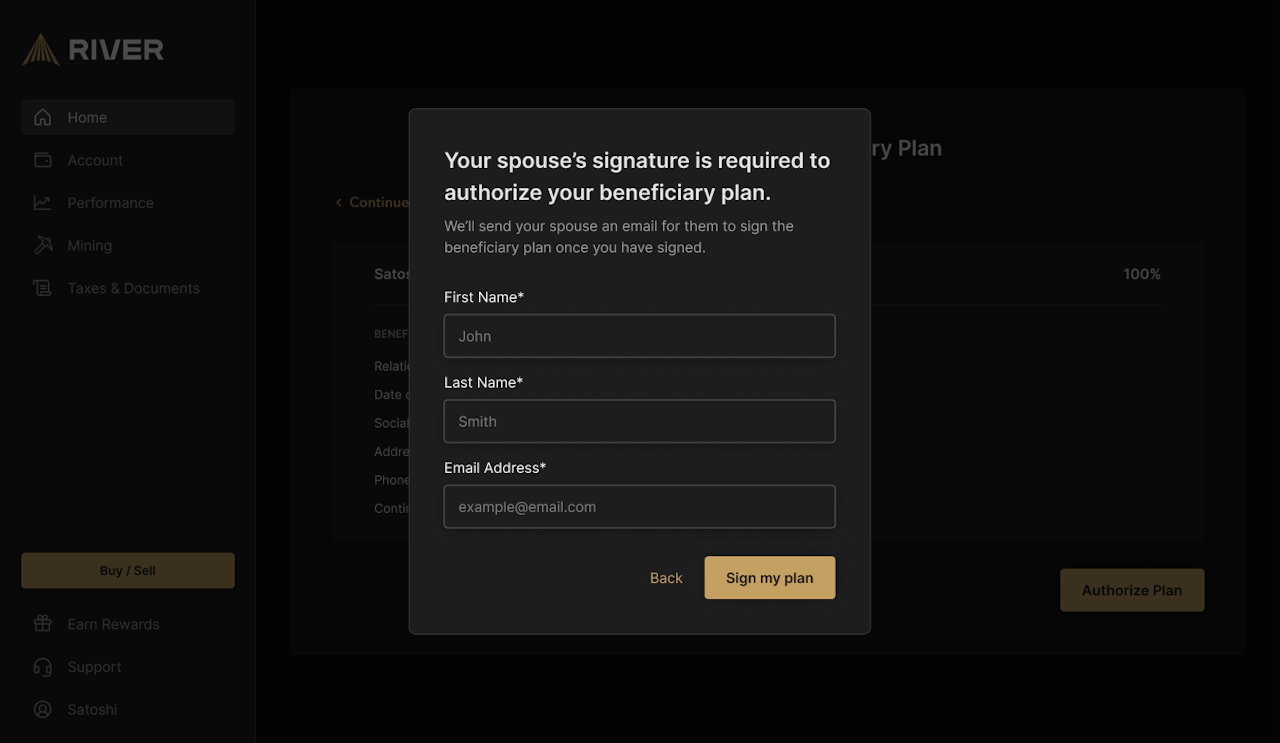
You may be asked about your marital status before you are redirected to DocuSign. Spousal consent is required if all of the following are true:
You are married
You live in one of the following states:
Arizona
California
Idaho
Louisiana
Nevada
New Mexico
Texas
Washington
Wisconsin
The beneficiary plan does not allocate 100% of the assets to your spouse

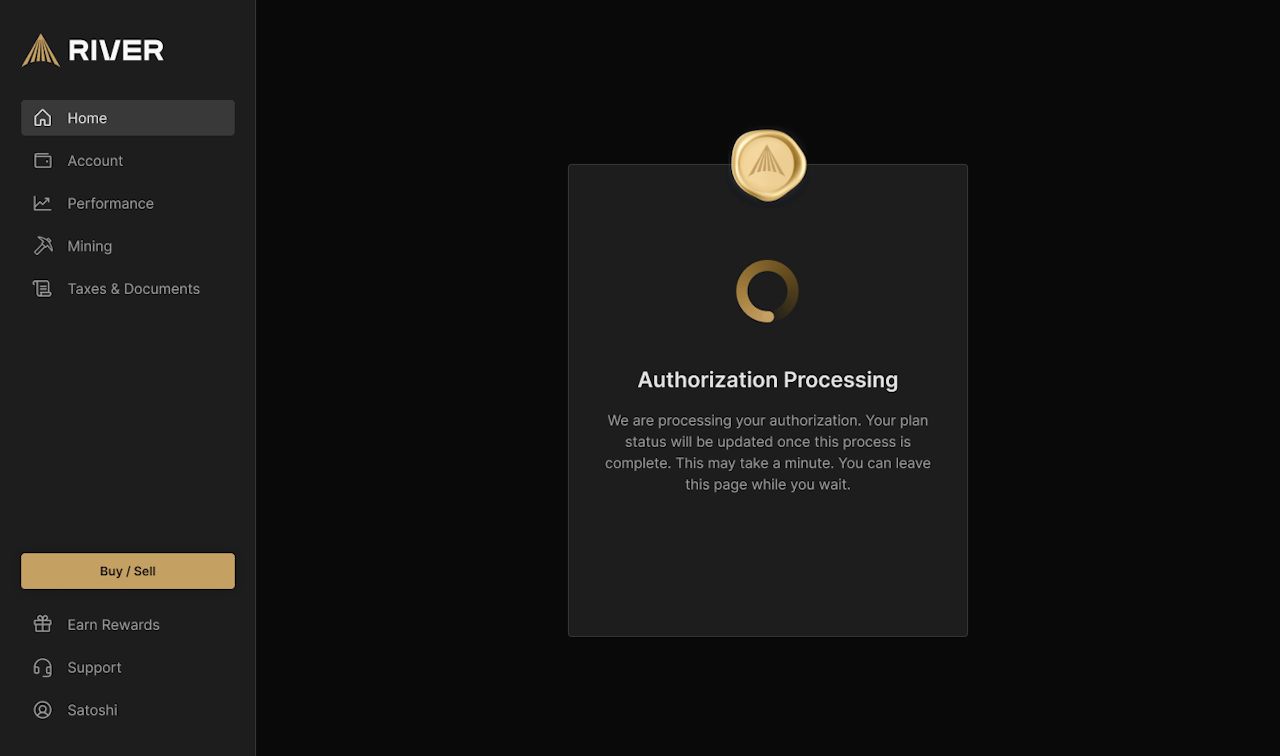
Step 10: Plan processing
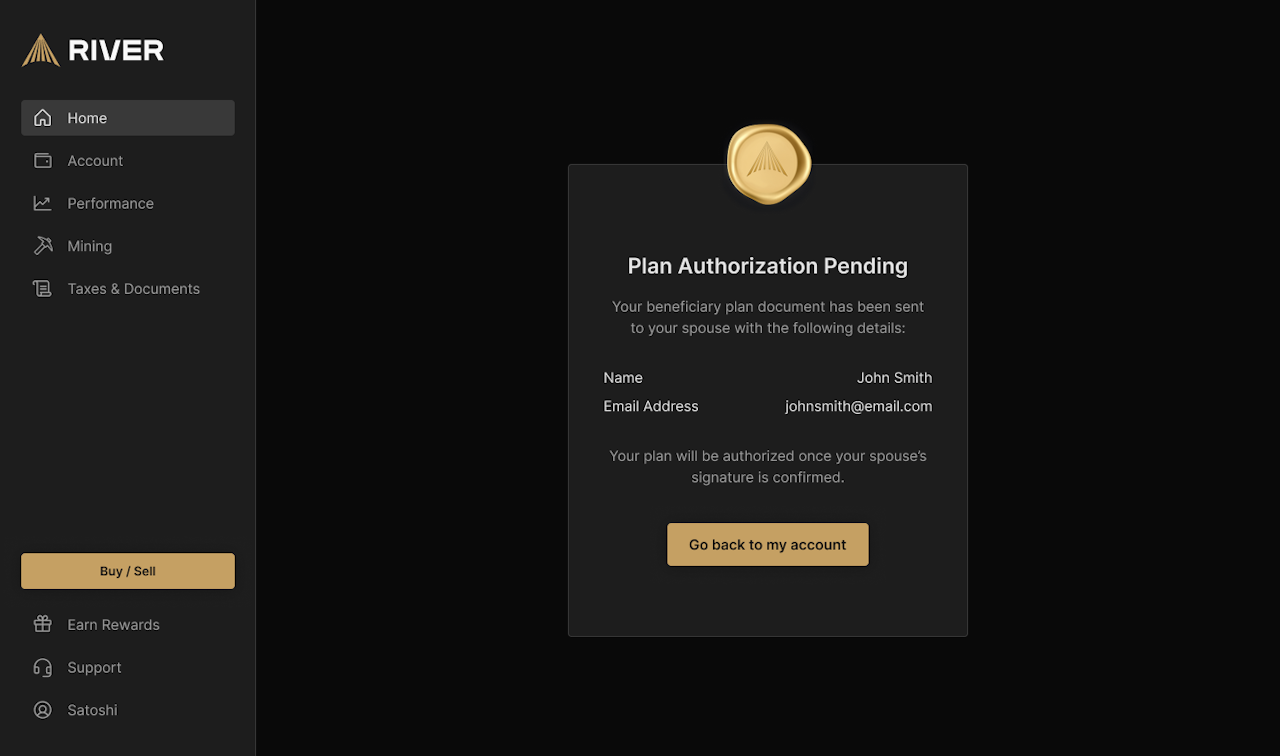
After signing your beneficiary plan in DocuSign, River will process your plan. If spousal consent is required, your plan will not be authorized until they have also signed.

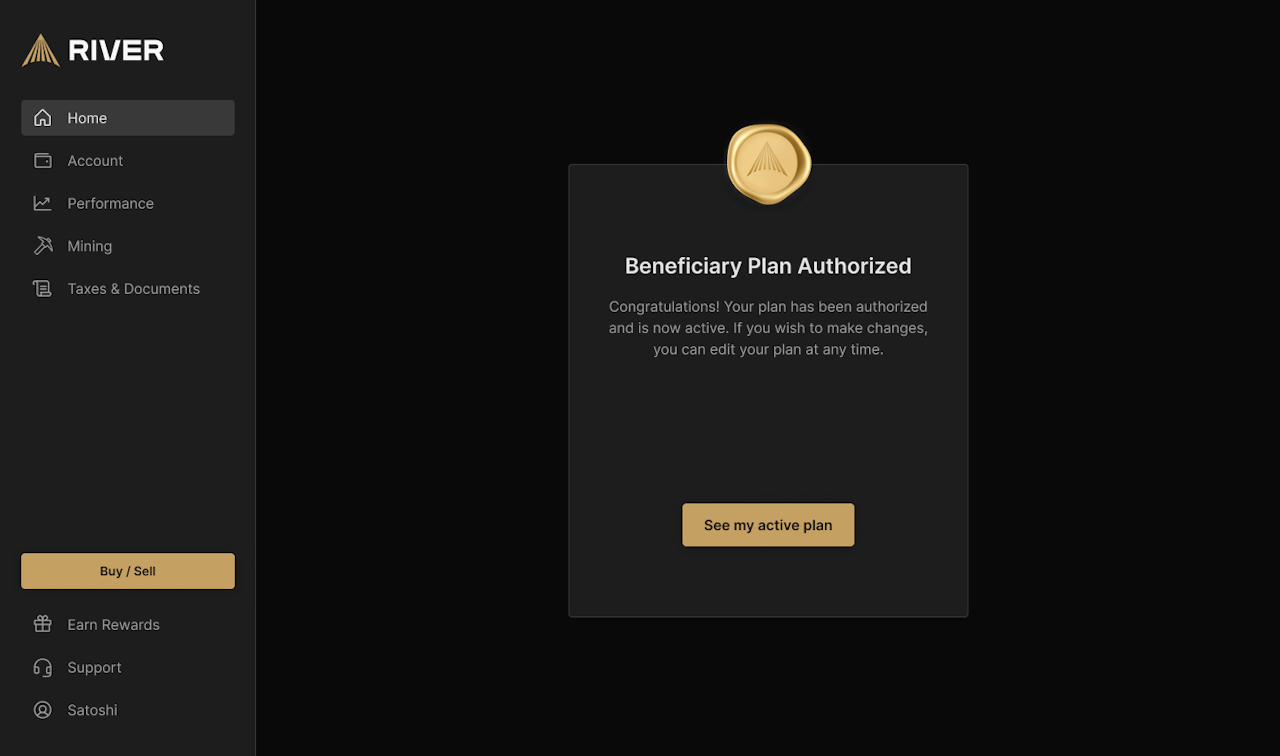
Step 11: Plan authorized
Once your plan is authorized, you will receive a confirmation email. You can also view your plan’s status by visiting the “Beneficiaries” page on river.com.
If you would like a copy of your created beneficiary plan, you can contact Client Services.

